
 The goal of this project was to create a fully functioning (not necessarily the most accurate) gas detection meter we could come up with in 24 hours. Why 24 hours? That's because I chose this to be my hackathon project for CatHacks. It was not the smartest idea on my part as this is one of the shorter hackathons that I have been to and it was a full fledged hardware hack. I knew it had to have some key things in order for me to consider it fully functional.
- It had to be portable (runs on rechargeable battery).
- It had to have a OLED screen to show data
- It had to have audible and visual alarms.
- It had to have the ability to be calibrated easily
The hope was to also allow the meter to have "hot swappable" sensors so that you could choose the sensor you wanted to use based on your needs. This was just something we would implement if we had time.
*SPOILER ALERT* We didn't...
How we built it
So the first thing I did to get an idea of what needed to be done was to mockup some demos in Tinkercad. Tinkercad Circuits is a great tool for Arduino projects because you don't have to mess with any of the hardware when testing out ideas. It's simple to use and has a ton of features. Here is the mockup that I created for this project: https://www.tinkercad.com/things/2F2CZrvfSiV
Try out the demo below! Click the gas sensor to introduce gas to the system. Click and drag the gas close to the sensor to see the it go into alarm. (Works best on desktop.)
Link to the demo: https://www.tinkercad.com/things/2F2CZrvfSiV
Warning: The demo contains sound.
After the design was ready to go in Tinkercad and was tested, it was time to move on to prototyping the gas detection meter with a breadboard and full size Arduino Uno. When you have a design ready to go in Tinkercad, putting everything on a breadboard is simple. In fact, I could have designed it with a breadboard on Tinkercad, but I knew that eventually at the end of the project we would change our design to be permanent and not use a breadboard. So from initial design to breadboard we ended up with this: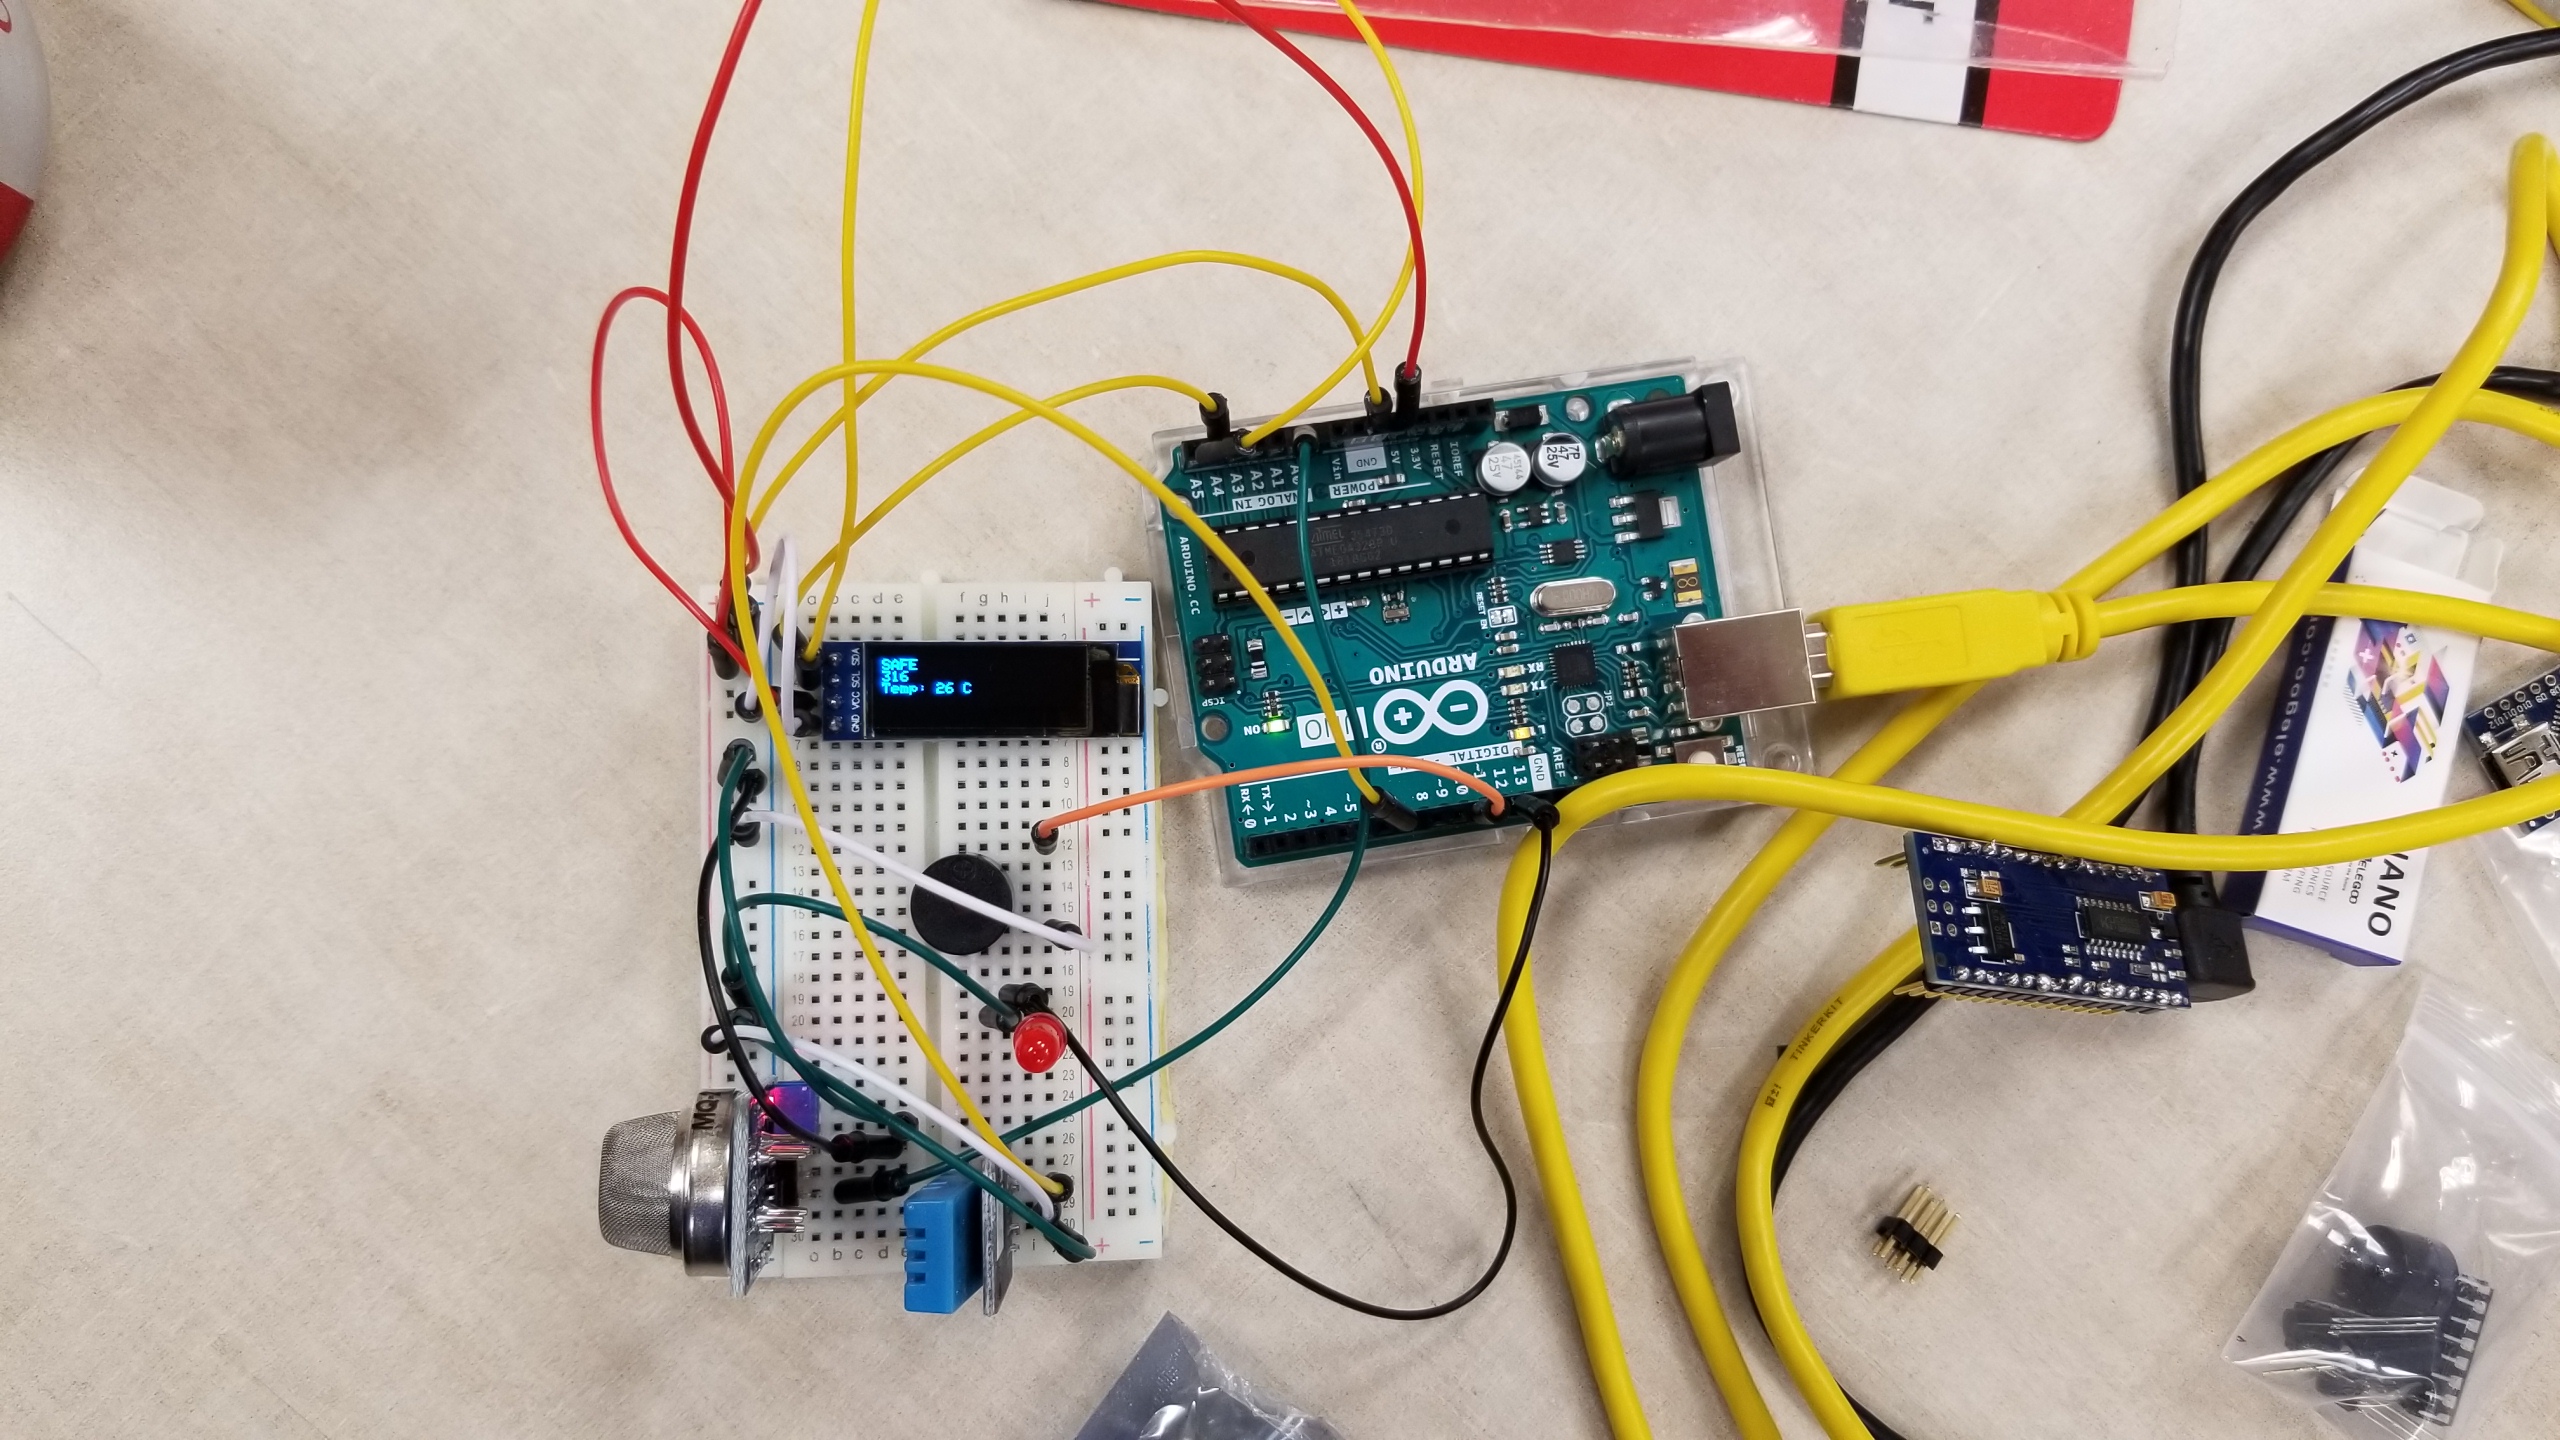
Here are the main parts that were used:
| Part | Note |
|---|---|
| Arduino Nano V3.0 | We first prototyped with a full size Arduino Uno, then switched to the Arduino Nano to make it as small as possible. |
| OLED Display Module 0.91 Inch I2C DC 3.3V~5V for Arduino | This screen is tiny, but it's clear and only uses 4 pins. |
| Arduino 9 in 1 Sensor Module Kit for Gas Detection | Comes with all the sensors you could need. We used the MQ-2 sensor. |
| Adafruit 259 , USB Li-Ion/LiPoly Charger, v1.2 | Charger with an important LED light that displays when it is charging and fully charged. |
| Adafruit 328 Battery, Lithium Ion Polymer, 3.7V, 2500mAh | The battery suggested to be used with the charger above. Notice that it's 3.7v. |
| Boost Converter Module XL6009 3.0-30 V to 5-35 V Output Voltage | We needed a boost converter because our Li-ion battery outputs 3.7v and we needed up to at least 5v. |
| ELEGOO UNO Project Super Starter Kit with Tutorial for Arduino | This is an awesome kit that we used a bunch of parts from like the buzzer, LED's and potentiometer. |
Challenges we ran into
So we ran into quite a few problems along the way. Our biggest problem was that the solder that we used was not lead solder, but instead tin solder. If you have ever tried to use tin soldier then you know how difficult it is to work with. We had some soldering experience, but before this project I had no idea that there was even a difference in solder, let alone that one was much more difficult to use. This resulted in weak/cold connections and right before we went to present, one of the connections to our OLED display became detached.
The next problem we ran into was that our temperature sensor stopped working. While the temperature sensor wasn't absolutely necessary, it was supposed to help out in coming up with a proper calibration because the sensor is sensitive to temperature and heats up during use. The idea was that we were going to create an algorithm that included the temperature to give us a more consistent calibration. In the end it really didn't matter, but in future revisions of this project I will be adding the temperature sensor back into the design.
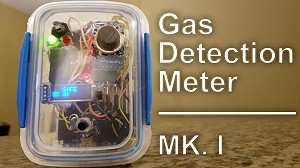
The last problem we ran into was that the maker space was only available to us for part of the hackathon. We were unaware of this and it meant that the case that we had designed to be 3D printed was not going to happen. Instead we had to find something to use in it's place, so we went with a tiny lunch container which turned out to be the perfect size. I think the "see through" aspect of it turned out to be really cool and brought back fond memories of 90's electronics.
Accomplishments that we're proud of
The whole idea for this project has been one that I have thought about for years. I used to work for a company that specialized in gas detection equipment. This is where I learned web development and would go on to discover that I wanted to do more than just web development. My brother (and partner on this project) worked for the same company. Being around gas detection meters all the time, we had always tossed around the idea of making our own gas detection meter. But at the time we didn't have the knowledge or frankly the skill to create our own gas detection meter. This changed when I left the company to study Computer Engineering at the University of Kentucky and my brother left to go to Purdue University for Aerospace and Aeronautics Engineering.
While the gas detection meter we made is very basic at the moment, we have future plans to improve the design because to be honest, 24 hours isn't enough time to create a fully fledged gas detection meter.
This was our way "tip our hat" to our past employer, because we probably wouldn't be on the path we are on now had it not been for them. We thought completing this project would be the perfect way to acknowledge that.
All in all, we succeeded in what we were trying to accomplish.
What we learned
One of the things we learned, and this is not a joke: AVOID TIN SOLDER AT ALL COSTS!
I would rather risk electrocution and hold wires together with my bare hands than use tin solder!
I also learned other important things like taking hardware limitations into consideration when planning projects. Some limitations you can foresee. Others are just trial and error. For instance, when we were using the temperature sensor we had to delay the rate in which we allowed the signal be sent to the display and faster than a 1 second delay was too fast for the sensor to change it's signal and would cause a glitch. Thankfully the library we used outputs -999 in such scenarios. If it wasn't for that I would have had to use my oscilloscope to find this problem. That made me realize that sometimes it's better to setup your code to detect errors/glitches. If I had found the datasheet for the temperature sensor I could have avoided all of that entirely, but that's neither here nor there (because it most likely would have been in Chinese).
The last thing I learned was the impact that sequential programming can have on your project. Our gas meter needed to output an obnoxious noise when it encountered gas. This equates to a signal sent to the buzzer every 50ms. We also wanted to have the red warning LED flash at the same rate. This wasn't going to be possible if we were going to use the temperature sensor which required 1000ms to send a reading. This is a case where we could have benefited from being able to use parallel programming instead of sequential programming and is ultimately one of the limitations of using an Arduino.
What's next for Grandiose Gas Gauge
It was fun being able to create something that we once thought was impossible. However, we are far from being done with this project. Having so many wires is a problem. It introduces a lot of possible points of failure and should be changed. Mark II of our gas detection meter will have a custom PCB that will insure that we won't run into any problems as a result of that "birds nest" of wire. The sensors are supposed to be "hot swappable" so that is something else that will change. A 3D printed case is also going to be a nice addition that will make the finished product thinner and easier to hold. It would be nice to include a temperature sensor again, but one with a faster refresh rate this time. Also, we are going to look into including a keypad and menu to select different sensors. When you change a sensor out there will be preset calibration settings for the corresponding sensor. Some of these changes may not make it into Mark II of our gas detection meter just so that we can make sure the project continues to progress.
Summary of Mark II Changes:
- Create Custom PCB
- Implement "Hot Swappable" Sensors
- Create 3D Printed Case
- Add Temperature Sensor
- Add Keypad and Menu
This was a really fun project and I'm glad I got to use CatHacks as a way to finally pull it off. I look forward to creating more hardware projects in the future and will be posting updates to this project and others in the near future.
As always, let me know in the comments what you think or leave any questions you might have!
About the Author:

Nick Santini is a web developer and college student from Louisville, KY. Aside from his work as a web developer, he is also the man behind SANTINI.IO, a blog dedicated to technology, web design/development, self improvement, and more.
Latest Tweet

Nick Santini
@SANTINI_IO
As a Yankees fan, I still always loved to see that knuckleball. If you don’t make it to the hall of fame the baseball world will have made a mistake!
— Nick Santini (@SANTINI_IO) April 16, 2022