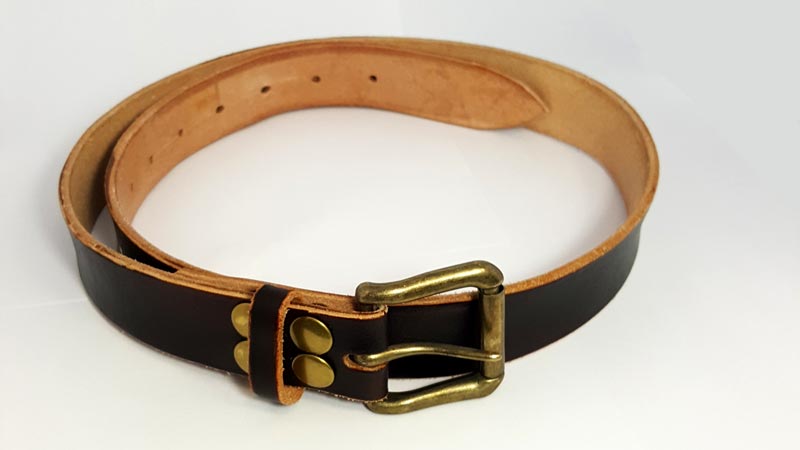

Recently I started working with leather and was amazed at how simple it ended up being. Don't get me wrong, it will probably take a while to master, but in the little time I've spent working with leather I've gotten pretty good at it. My journey into leather working started by making my dad a belt for Christmas. I figured whats better than a handmade gift, right? As it turns out he loved and I've been working on all sorts of projects since.
Starting is easier than you think so read on to learn how you can start making your very own leather projects today.
Tools
First off you need the right tools. This is one of the most important parts, because without the proper tools you are going to have a terrible experience. That doesn't mean go out and buy every leather working tool ever made, but having the right tool for the job will make your life a lot easier.
Here is a list of what I use most often.
- Rotary Cutter - I make most of my cuts with a rotary cutter like this one.
- Hole Punching Chisels - Used to punch holes in leather for sewing.
- Scratch Awl - For opening punched holes marking leather for things like cutting.
- Leather Punch Set - The name explains it all. Punches holes in leather.
- Edge Beveler - Bevels edges for a rounded look. No. 2 size is best at first.
- Stitch Groover - Creates a groove where your stitch line will be.
- Wood Slicker - Used to burnish leather edges.
- Safety Beveler - Shaves leather for thinning sections.
Buying all of those tools like I did can get expensive quickly. Luckily there are kits that include just about everything you need to start like this kit from Amazon:

Consumables
In leather working there are quite a few consumable items. I will only list the ones used most often and those which need to be replaced most often.
- Stitching Needles - Oddly enough these can and will break so you need a good supply.
- Wax Sinew Thread - If you don't buy the waxed kind you will need to use beeswax to wax the thread.
- Edge Kote - Used to paint/dye the edges of finished leather.
- Leather Dye - Only needed if dying your own veg tanned leather.
- Aussie Leather Conditioner - Used to condition the leather
- Wool Daubers - Used to apply any liquid (ie. Dye, Edge Kote, etc.)
- Hardware - Snaps and rivets to use in projects
Start off small with the consumables until you figure out what you like and what will work best for your projects. When I first started I bought the supplies as I needed them. I would recommend doing that as well.
Types of Leather
First off, leather thickness is measured in ounces or sometimes mm. When starting out it is probably best to go with around 4-6 ounces to get a good idea for how thick the leather actually is.
| Ounce | MM | Inch |
|---|---|---|
| 1 | 0.4 | 1/64 |
| 2 | 0.8 | 1/32 |
| 3 | 1.2 | 3/64 |
| 4 | 1.6 | 1/16 |
| 5 | 2 | 5/64 |
| 6 | 2.4 | 3/32 |
| 7 | 2.8 | 7/64 |
| 8 | 3.2 | 1/8 |
| 9 | 3.6 | 9/64 |
| 10 | 4 | 5/32 |
| 11 | 4.4 | 11/64 |
| 12 | 4.8 | 3/16 |
The two types of leather you will be dealing with the most will be Veg tanned leather (the most common), and chrome tanned better. Chrome tanned leather is softer than veg tanned leather and is often used for fashion type products. Veg tanned leather is used on just about everything else. The leather can come from all types of animals. The article, "Leather made form different animals," explains each kind better than I can.
There are also different kinds of cuts. Mainly, full-grain, top-grain, and split. I'm not going to go into detail about the cuts, but for more info on it check out this article, "leather cuts".
Basically, the less fuzzy/furry the underside of the leather is the higher quality it is (in most cases).
As tempting as it may be, don't go off and buy a bunch of leather. Your first projects will be small and leather can get pricey very quickly. The best thing to do is to buy bags of remnants. Remnants are usually cheaper and depending on where you get them, they often come with good size pieces of leather. I like to buy remnants from TheLeatherGuyOfMN from ebay. He usually includes decent size pieces of leather in his remnant listings.
This is a good example of veg tanned leather that would be good for a project: Veg Tanned Project Leather
As well as Chrome tanned leather: Chrome Tanned Project Leather
How to learn to work with leather
The best place to start would be YouTube. There are tons of great videos on the different skills you will need to learn to master leatherworking. Another valuable resource would be "The Leatherworking Handbook". Books like this offer a more formal way to learn and will help out a lot when you begin.
If you happen to have a Tandy Leather store near you, chances are they offer free classes. The one closest to me offers classes and even has open workshop on Saturdays.
Something else that helps a lot are acrylic templates. Acrylic templates can be a good way to ensure that projects turn out the way you want them to just about every time. The place I like to get templates, MAKESUPPLY, actually offers free pdf templates that you can print out as well as more elaborate paid templates and acrylic templates. I can't tell you how many times I finished a project only to realize that my measurements were wrong and ended up with a leather paperweight.
That leads me into the last way to learn, trial and error. You are going to mess up. It's inevitable. The more projects you work on the better you will get. The best part is that some mistakes can just be referred to as added character.
Conclusion
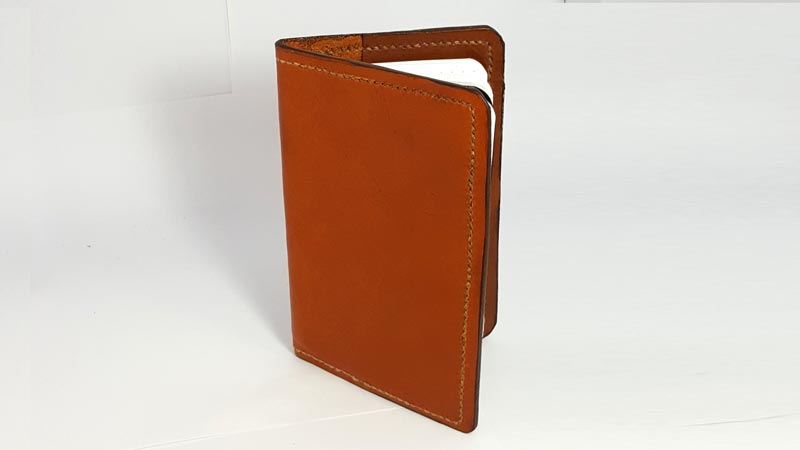
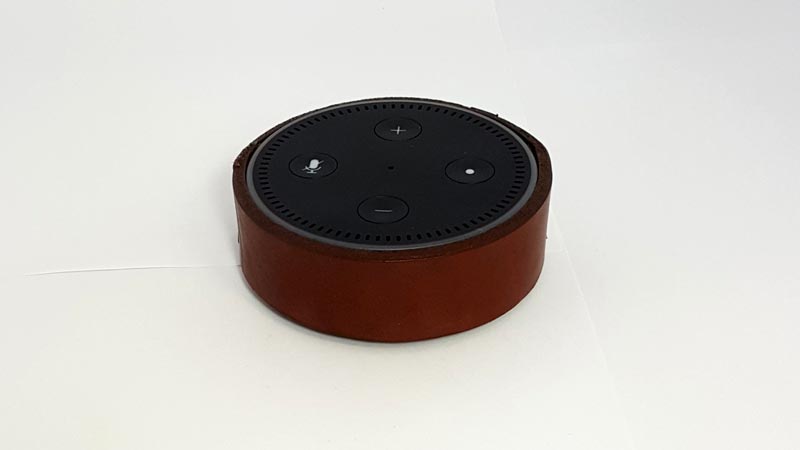
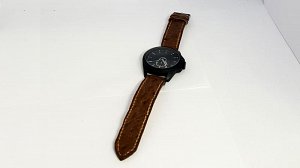
Leatherworking is a lot of fun and way easier than most people think it is. The initial startup cost can be a little outputting if you buy most of your tools at once. Don't let stop you from getting into leatherworking and instead slowly build up you tool collection and supplies. I'm still fairly new to this craft and here are some of the things I've made. The best part is that you can make stuff like this too.


About the Author:

Nick Santini is a web developer and college student from Louisville, KY. Aside from his work as a web developer, he is also the man behind SANTINI.IO, a blog dedicated to technology, web design/development, self improvement, and more.
Latest Tweet

Nick Santini
@SANTINI_IO
As a Yankees fan, I still always loved to see that knuckleball. If you don’t make it to the hall of fame the baseball world will have made a mistake!
— Nick Santini (@SANTINI_IO) April 16, 2022